Exit Intent Pop Up Subscribe allows you to adjust your Pop Up Subscribe’s trigger so that it is triggered by reader behavior that indicates they are leaving your site.
Exit intent behaviors vary by device, so the triggers will differ based on how users access your site.
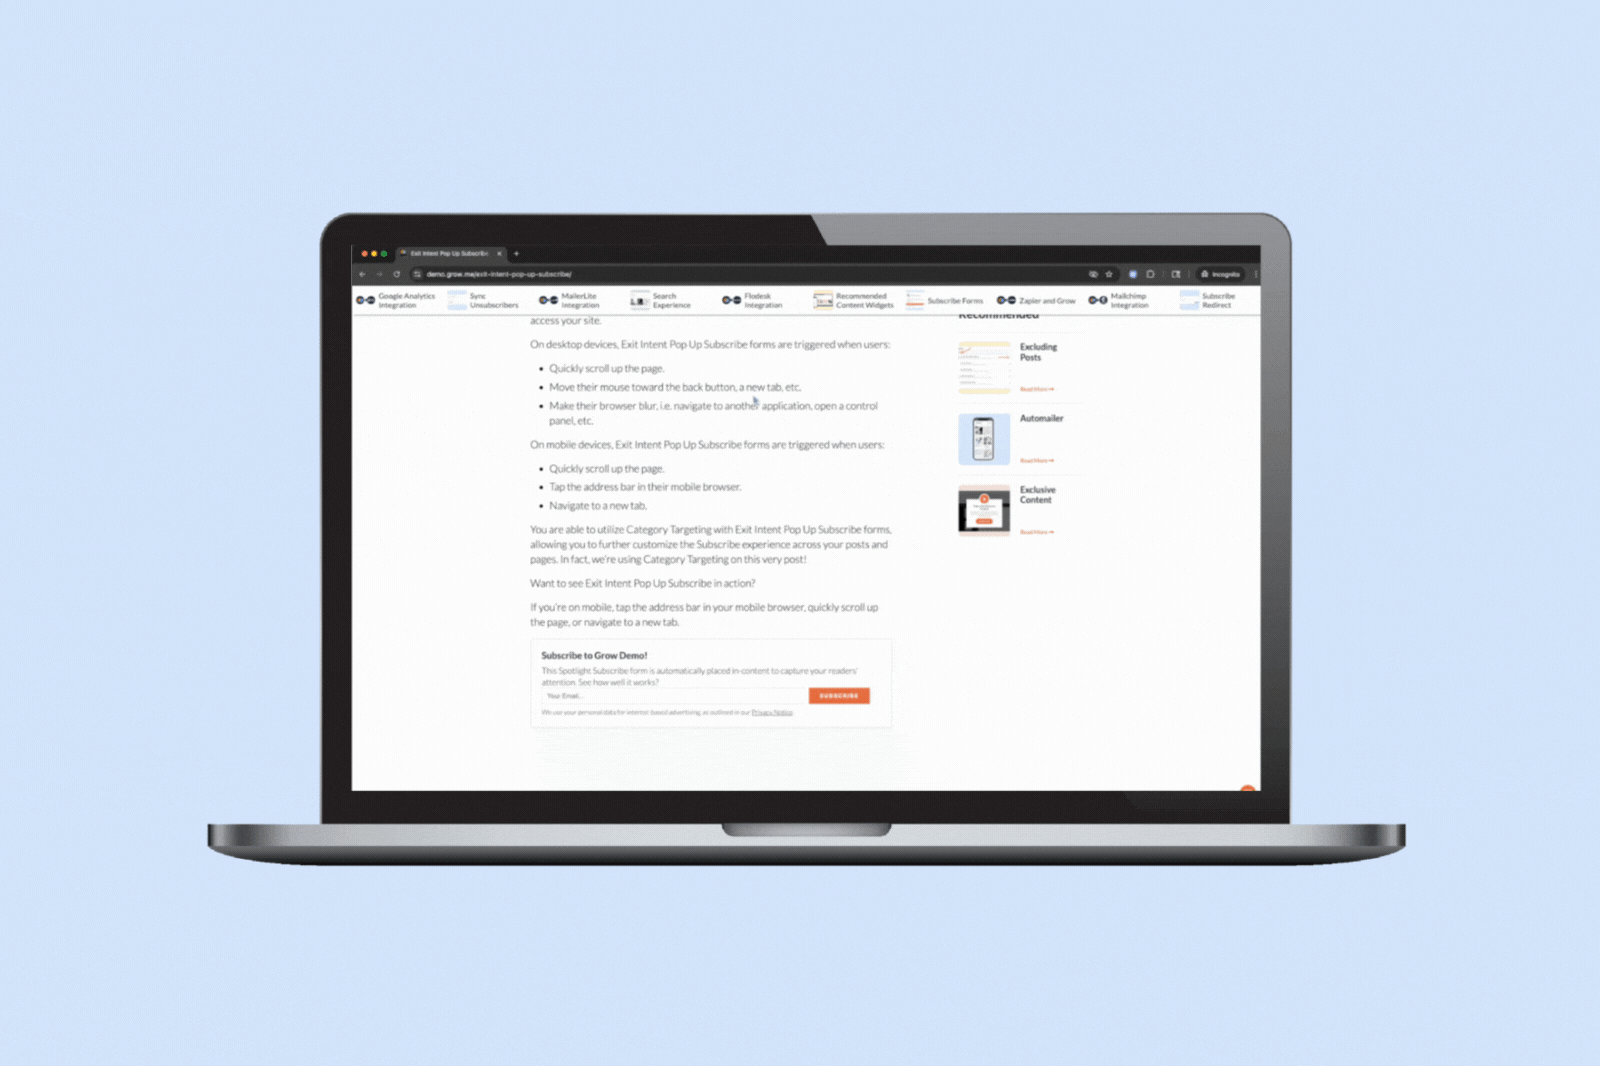
On desktop devices, Exit Intent Pop Up Subscribe forms are triggered when users:
Move their mouse toward the back button, a new tab, etc.
Make their browser blur, i.e. navigate to another application, open a control panel, etc.
On mobile devices, Exit Intent Pop Up Subscribe forms are triggered when users:
Quickly scroll up the page.
Tap the address bar in their mobile browser.
Navigate to a new tab.
You are able to utilize Category Targeting with Exit Intent Pop Up Subscribe forms, allowing you to further customize the Subscribe experience across your posts and pages. In fact, we’re using Category Targeting on this very post!
Want to see Exit Intent Pop Up Subscribe in action?
If you’re on mobile, tap the address bar in your mobile browser, quickly scroll up the page, or navigate to a new tab.
If you’re on desktop, move the mouse toward the back button or new tab, quickly scroll up the page, or pull up another application while leaving this browser window open in the background.
Ready to set up with Exit Intent Pop Up Subscribe?
Grow’s Google Analytics integration allows you to view analytics data in Grow Publisher Portal. The data available differs depending on your ad network.
If your site is monetized with Journey, you’ll be able to see your Journey ad performance in terms of your Google Analytics 4 pageviews and sessions.
If your site is monetized with another ad network or not monetized at all, Grow feature analytics reporting is currently under development!
How to connect Grow to GA4
Head to Grow Publisher Portal > Grow Settings > Integrations. Then, click Connect Your Google Account. After choosing the GA4 property connected to your site in the modal, follow the prompts to grant Grow access to your GA4 data.
Do you use an Email Service Provider that doesn’t currently integrate with Grow? You can use Zapier to connect Grow and many popular Email Service Providers to automate moving subscribers from your Grow conversion tools – like Subscribe forms, Print Pass, or Exclusive Content widgets!
How to Get Started with Grow in Zapier
You’ll need to head directly to Zapier to start connect Grow to your Email Service Provider.
By integrating Grow and MailerLite, you’ll be able to add Form Actions to your Grow conversion tools – like Subscribe forms, Print Pass, and Exclusive Content widgets – to send your Grow Subscribers to MailerLite automatically. You can even choose specific groups to send them to by conversion tool!
How to Connect Grow to MailerLite
To connect Grow to MailerLite, head to Grow Publisher Portal > Grow Settings > Integrations. Then, enter your MailerLite API Key in the MailerLite section. Don’t forget to scroll down and click Save Changes in the bottom right!
Video: Connecting Grow and MailerLite
Email Connect Links in MailerLite
When you’re sending your MailerLite newsletter, you can use Grow’s Email Connect links to identify readers arriving on your site from your newsletter links.
By integrating Grow and Kit, you’ll be able to add Form Actions to your Grow conversion tools – like Subscribe forms, Print Pass, and Exclusive Content widgets – to send your Grow Subscribers to Kit automatically. You can even choose specific Kit forms, sequences, or tags to send them to by conversion tool!
How to Connect Grow to Kit
To connect Grow to Kit, head to Grow Publisher Portal > Grow Settings > Integrations. Then, enter your Kit Secret API Key in the Kit section. Don’t forget to scroll down and click Save Changes in the bottom right!
Video: Connecting Grow and Kit
Email Connect Links in Kit
When you’re sending your Kit newsletter, you can use Grow’s Email Connect links to identify readers arriving on your site from your newsletter links.
Publishers using Automailer in addition to a third-party Email Service Provider can struggle to match their mailing lists. Sync Unsubscribers makes managing multiple lists much easier!
With Sync Unsubscribers enabled, readers who unsubscribe from your integrated Email Service Provider newsletters are also removed from your Automailer List. Some integrated Email Service Providers also support removing readers from your ESP newsletter when the reader unsubscribes from your Automailer newsletter.
How to Set Up Sync Unsusbcribers
In Grow Publisher Portal, navigate to Automailer > Automailer Settings and toggle the switch beside Sync Unsubscribers to enable. Don’t forget to scroll down and click Save Changes.
Set your email marketing to easy mode with Grow’s Automailer!
Automailer is a fully automated newsletter sent to your subscribers weekly (default), biweekly, monthly, daily, every other day, or every three days. Grow takes care of everything for you, so you don’t have to to think of any additional content to create beyond your posts.
Each Automailer email is comprised of 6-8 posts per email. Any newly published posts in your sending period will be featured and remaining slots are filled with Recommended Content personalized to each subscriber.
Navigate to Grow Publisher Portal and click Automailer in the siderail menu. Then click the Automailer Settings tab and enable Global Automailer Sending.
You will need to enter a valid mailing address to send Automailer emails.
You’re also able to add your site’s logo, change your email’s link color, customize your sender as name, and add your reply-to email address.
Automailer Insights
When you enable Automailer, Grow will begin collecting Automailer Insights – reporting designed to help you understand the efficacy of your newsletter.
Automailer Insights will show you the number of Automailer emails sent, total active subscribers, open rate, and click through rates. It also details your most clicked Automailer links.
Your Grow conversion tools (Subscribe forms, Exclusive Content widgets, Print Pass, Subscribe Action Pack, etc.) can automatically add new subscribers to your Automailer List by enabling the Automailer List setting.
You’re also able to import subscriber CSV files from other email service providers or conversion tools via Automailer Imports.
Integrating Grow and Mailchimp is as easy as logging in!
By integrating Grow and Mailchimp, you’ll be able to add Form Actions to your Grow conversion tools – like Subscribe forms, Print Pass, and Exclusive Content widgets – to send your Grow subscribers to Mailchimp automatically.
How to connect Grow to Mailchimp
To connect Grow to your Mailchimp account, head to Grow Publisher Portal > Grow Settings > Integrations. Then click Connect Your Mailchimp Account in the Mailchimp section.
When you’re sending your Mailchimp newsletter, you can use Grow’s Email Connect links to identify readers arriving on your site from your newsletter links.
Initiating Search pulls up the Search homepage, where readers can enter search terms and see content personalized to their browsing.
The Search homepage layout includes:
Search
Search allows readers to enter phrases, keywords, and more search terms to discover posts on your site. Unlike other search tools, Grow’s Search is probabilistic, meaning the search results will contain both posts meeting the search terms and posts the reader is most likely to click next based on their browsing history. This search is designed to get the second (and beyond) click!
Most Popular
Your Most Popular section displays the top five posts as chosen by your readers’ Grow bookmarks and shares. If you have share counts enabled in your Grow Appearance settings, those counts will be displayed on all the post featured in search.
Featured Category
Featured Category allows you to choose one of the post categories on your site and will display the posts in that category. In order for Featured Category to appear, you will need to install and activate the Grow for WordPress plugin.
This is an optional section and can be enabled in your Grow Search settings.
Your Bookmarks
Your Bookmarks displays the posts on your site a reader has saved with Grow.
If a reader is signed into a Grow account, their bookmarks for all time from your site will be displayed here as long as they are signed into Grow.
If the reader is signed into Grow or does not have a Grow account, the posts they save on your site will be displayed here until they clear their browser cache.
Viewed Recently
This section will display the posts the reader has previously viewed on your site.
If they are logged into a Grow account, this will show them their viewed posts for all time.
If readers are not logged into a Grow account, this will show them all posts viewed until the browser cache is cleared.
Latest
This section displays your recently published posts from newest to oldest.
Readers will see the Search results page after they’ve entered their search terms.
The Search results page features the following sections:
Top Results
These are post matching the search term. Post titles, content, and metadata can be used to determine if a post should be returned in search results. Results are displayed probabilistically, serving posts the reader is most likely to click next first.
Latest
This section displays your recently published posts matching the search term from newest to oldest.
Categories
Posts in categories relating to the search term will be served, allowing readers to browse through specific categories for a post to match their query.
For example, searching “chocolate” may bring up the Desserts, Cakes, Cookies, and Beverages categories on the search results page.
To enable Search, navigate to Grow Publisher Portal and click Grow Settings > Search. Then, click the toggle by Search to enable Grow’s search on your site. Click Save Changes in the bottom right corner and Search can be initiated via the Grow widget.
If you’d like to launch Grow’s Search with your site’s native search elements, enable the toggle by Site Search Integration. You may need to define custom search selectors to specifically target your site’s search elements. Don’t forget to click Save Changes!
Grow’s many conversion features allow you to build your email list, but how do you get those subscribers to your Email Service Provider so you can start sending newsletters?